Creating web-optimised images for your website is important for SEO, user experience and website performance.
There are two main things that we teach people to do when adding images to their website.
- Optimise while keeping the original proportions of the image – resizing for performance
- Create an image to specific dimensions to maintain an element of their website design; then optimising for performance
We are always on hand to optimise and upload images for our clients, but sometimes it is good to know how to do things yourself.
We want to empower you to be able to manage your own website images, by showing you how to use pixlr.com.
Every time you add an image to your website, you need to do these four things:
- Resize it to an appropriate width (never wider than 2000 pixels) Often images don’t need to be wider than 1200 pixels if they are not being used full screen width – for a blog post or portfolio entry for example.
- Reduce the image file quality to 50-80%
- Name the image for SEO. Use your business name, plus some words that either describe the contents of the image, or some important, relevant keywords form your site.
- Add ALT text. Once you have uploaded the image, add ALT text to the image in the media library. You do this by clicking on the image, then filling in the Alternative Text field.
Let’s go!
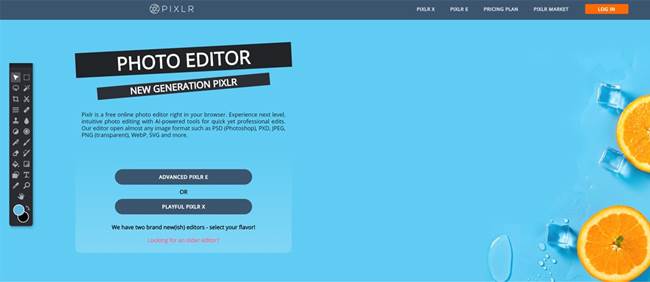
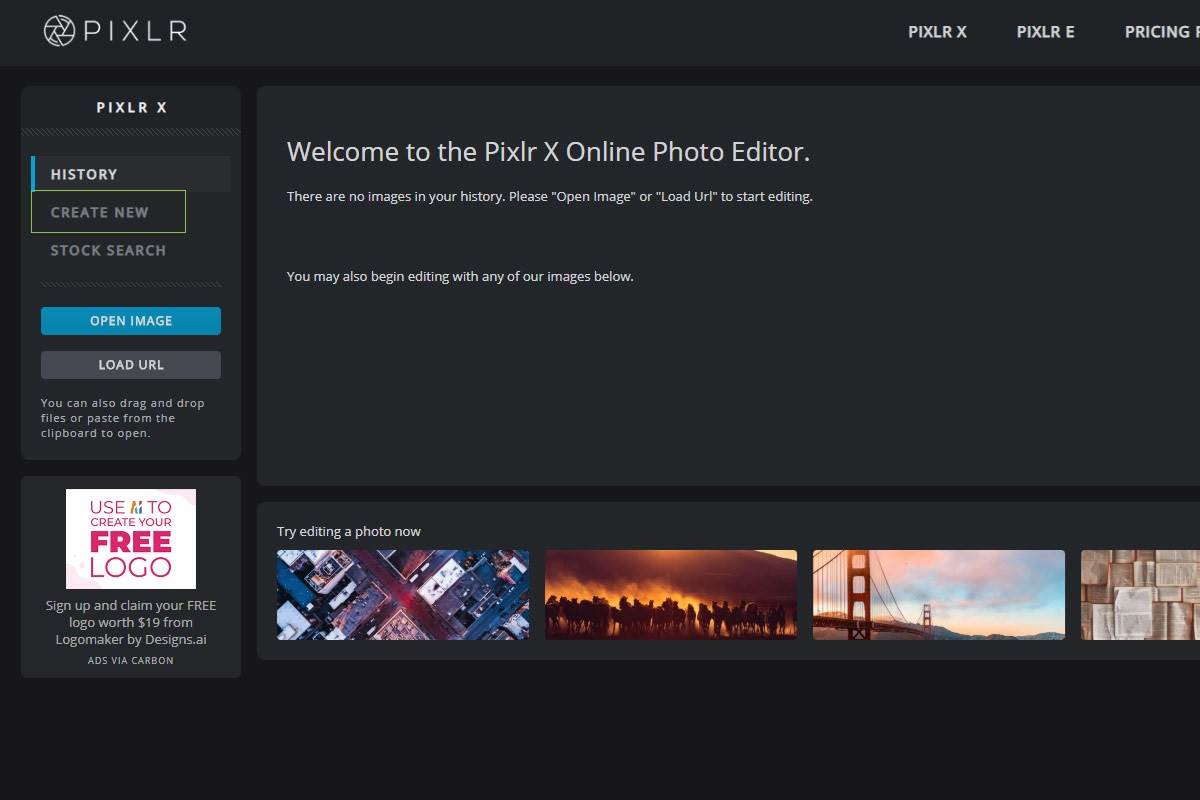
When you first get to pixlr.com you want to select the PLAYFUL PIXLR X
Resizing an Image
From the home page, select OPEN IMAGE

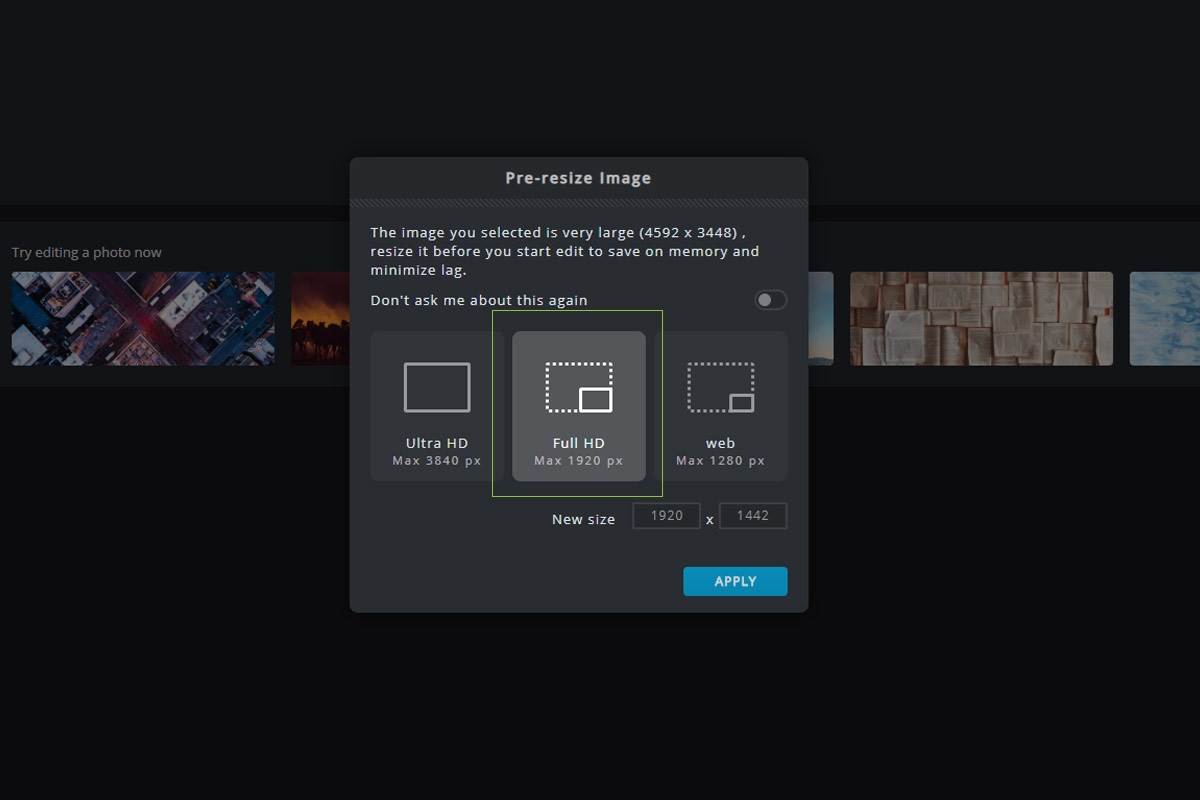
This will allow you to choose an image that is saved on your computer. Select the image you want to resize and click OPEN. In the pop up – select FULL HD – this will give you the most flexibility with sizing for web.
Note: When selecting an image, ensure it is larger than the size you need it at. Do not resize a small image to a larger size – it will become pixelated.
You will then see your image on screen.
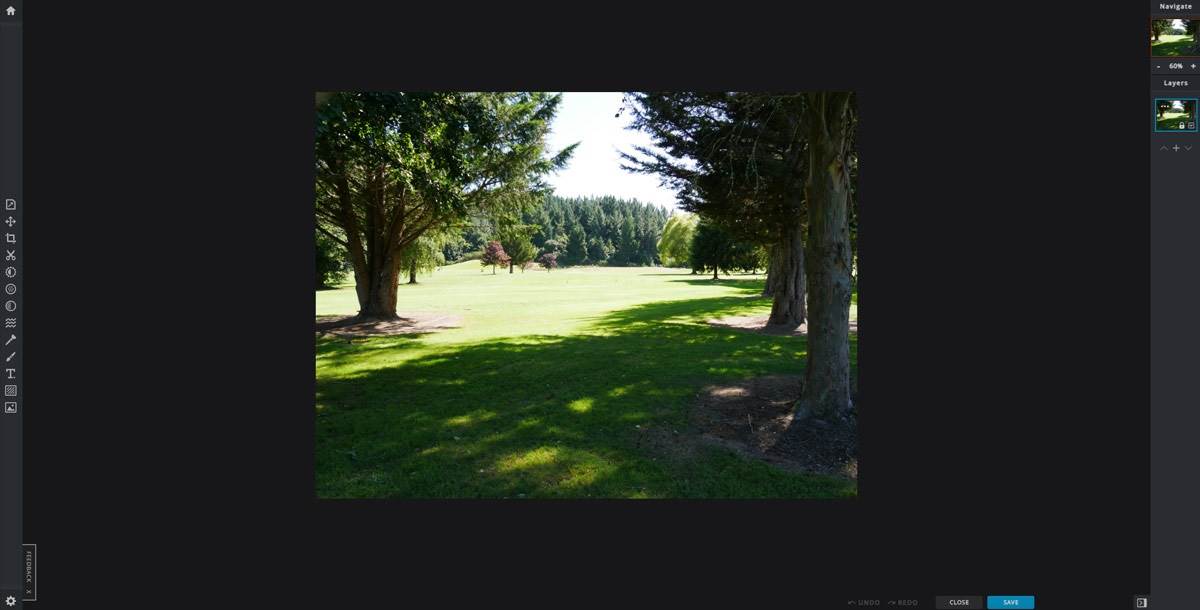
To optimise your image for your website, click on the blue SAVE button on the bottom right of your screen.
Here you want to follow our instructions from the top of this post.
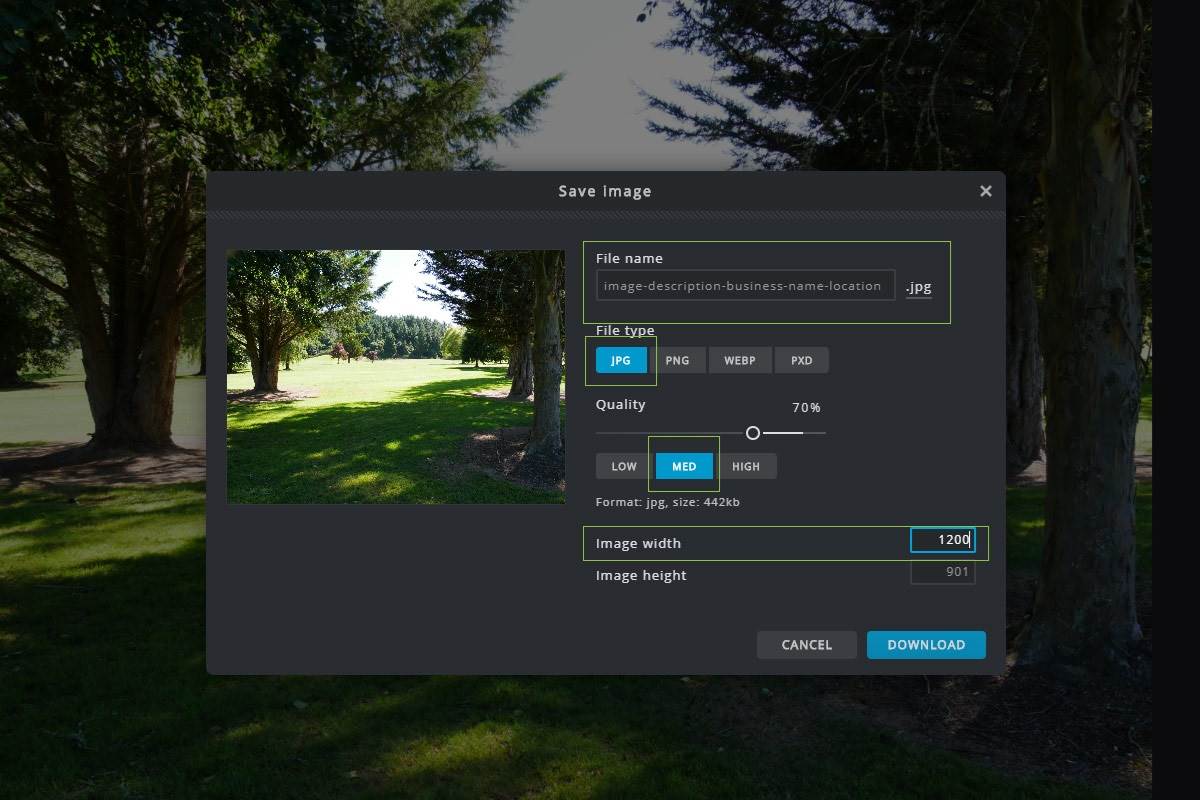
- Name your image with an SEO friendly name – using your important keywords that are relevant to the image.
- Choose JPEG as the file type
- Select MED (medium) for the Quality (or use the scroll bar to slide it to another percentage. You can go as low as 50% or as high as 75% if you prefer. Just remember, the smaller the image, the faster it will load.)
- Set your image width. If the image is going to go full screen, or span the full width of your website, we recommend setting it to 1920px. If it is for a blog post, or gallery – we recommend 1500px max, or 1200px. The main thing is to be consistent, so that when scrolling through a gallery the images don’t jump around as they go from size to size.
NOTE: Pixlr will not distort your image – it will keep your photograph in proportion. So you only need to enter the width OR height and Pixlr will automatically adjust the other dimension in order to keep the photograph from being squashed or stretched.
Then click DOWNLOAD. This will save the image to your computer – from there you can upload to your media library.
Creating an Image to a Specific Dimension (Width x Height)
There will be many images on your website which have been made a specific dimension so that they look uniform. When replacing existing images, it is recommended that you open the image up in the Media Library, and check the dimensions. Then create a new canvas at that size to put your image in.
IMPORTANT: New images should be created to these exact dimensions to maintain the current look of your website. At the very least they should be the same width – but if there are a row of images that are the same dimensions, changing the height of one, will affect the look.
From the home page, select CREATE NEW
On the right hand side of the screen, you can set the specific dimensions you want the photo to be. This time – add both the width and the height.

You will then see your canvas created to these exact dimensions.

You now want to open your image so that it goes onto the canvas.
Click on the Media icon at the bottom of the menu icons on the left. This will give you three options – choose the top one, BROWSE. This will open up your computer’s file system, allow you to navigate to the image you want to edit.

With that media tool selected, you will see that you have toggles on the corners of the image, which should be bigger than the canvas you have created. If it is smaller, your image is too small, and you need to find another one.
You can zoom out by pressing CTRL- and zoom in by pressing CTRL+. Once you can see the whole image, grab a corner and drag it in to make the image smaller. You can also use the top circle to rotate your image.
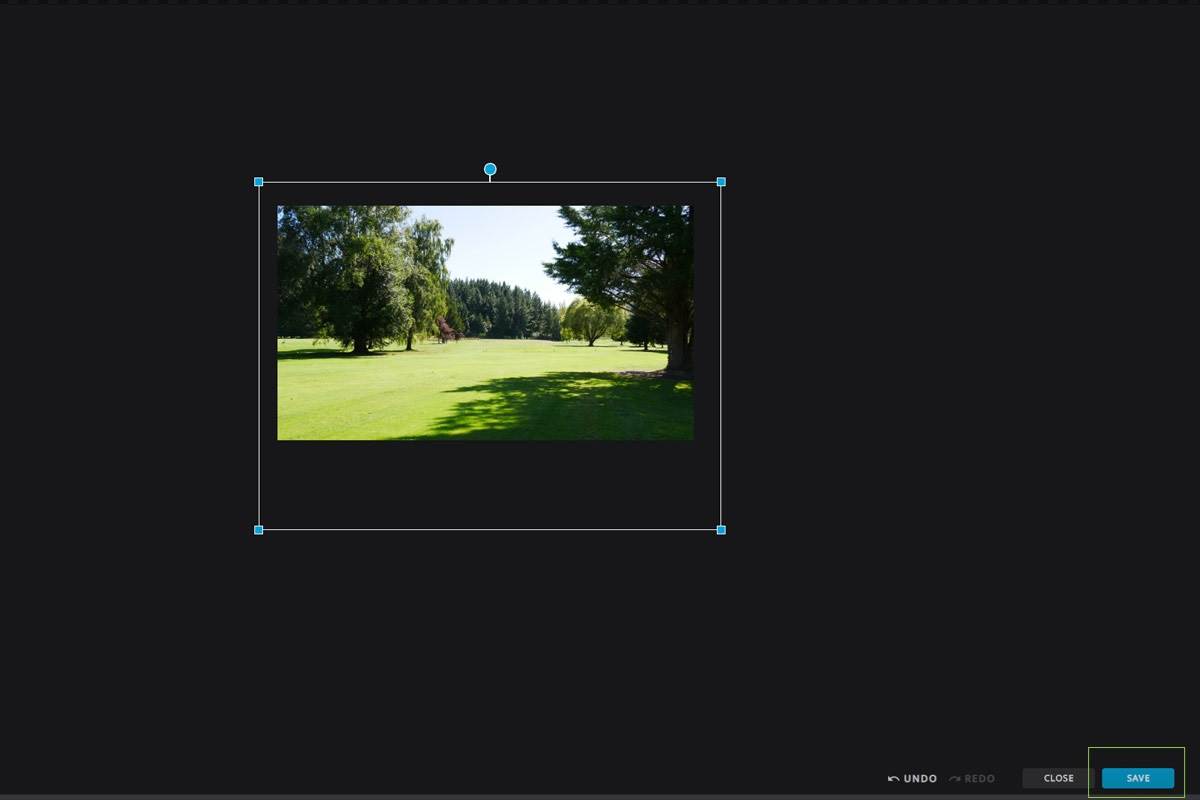
Once you are happy with the composition of the image, click on the blue SAVE button at the bottom right of the screen.
Here you want to follow our instructions from the top of this post.
- Name your image with an SEO friendly name – using your important keywords that are relevant to the image.
- Choose JPEG as the file type
- Select MED for the Quality (or use the scroll bar to slide it to another percentage. You can go as low as 50% or as high as 75% if you prefer. Just remember, the smaller the image, the faster it will load.)
NOTE: You do not need to edit the dimensions, as you set these at the beginning.
Then click DOWNLOAD. This will save the image to your computer – from there you can upload to your media library.
An important note is that you must ensure that any image you use on your website you have the legal right to do so. Images should be your original photos, purchased stock photos or images that are free to use online (you can check out a list of Free Stock Photo Websites we have compiled here). It is not OK to take an image from Google, as copyright most likely will apply.
Happy photo editing!
*Sometimes Pixlr changes it’s software slightly. Instructions are correct as of 14/04/2020.